
Key Takeaways:
- Understand how to connect your printer to your computer
- Learn to install printer drivers if necessary
- Discover how to print documents from various applications
Printing from a laptop or PC to a printer can seem challenging, but it can be very straightforward with this guide. Whether your printer connects via USB or wirelessly, the steps outlined here will help you get your device ready for printing quickly and efficiently. Here’s how to set it up, add your device, and print documents effortlessly. If you are experiencing issues, ensuring TPM 2.0 is enabled might be crucial; refer to the full guide on this here.
Step 1: Ensure Printer Connection
Before you start printing, make sure your printer is connected to your computer or laptop. This can be done using a USB cable or via your home network. If using USB, ensure it’s securely plugged in and powered on.
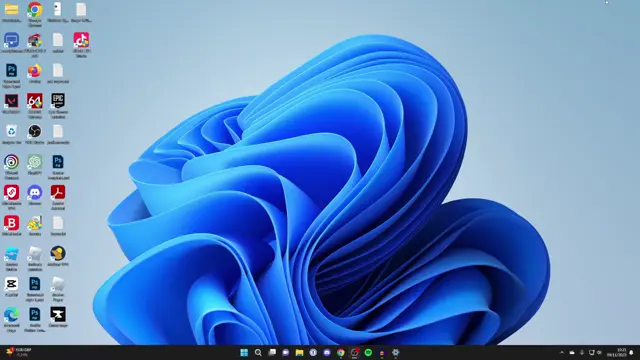
Step 2: Access Printer Settings
On your computer, click the Windows start button, then select ‘Settings’. If you prefer, you can search for ‘Settings’ in the search bar. This will take you to your system settings where printers can be managed.
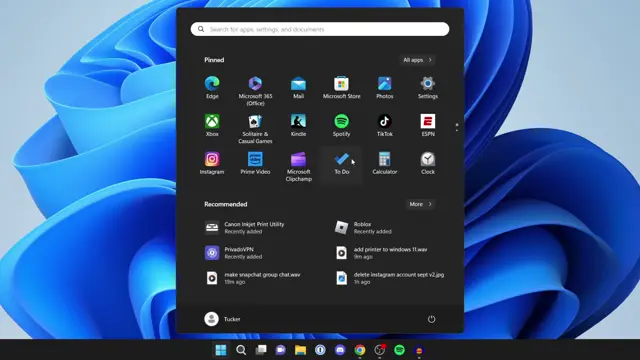
Step 3: Add Printer Device
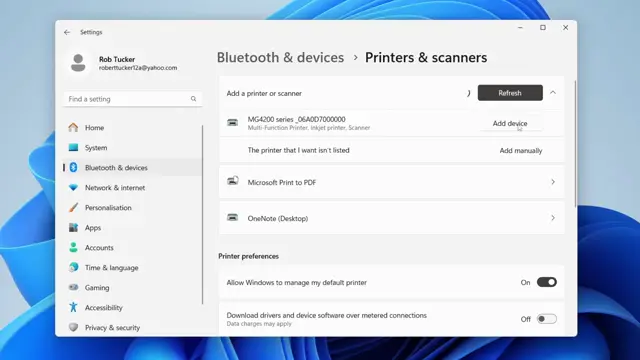
In the Settings window, navigate to the left sidebar and click on ‘Bluetooth & devices’. Scroll down to find ‘Printers & Scanners’ and select it. Here, you can start the process of adding your printer by clicking on ‘Add device’.
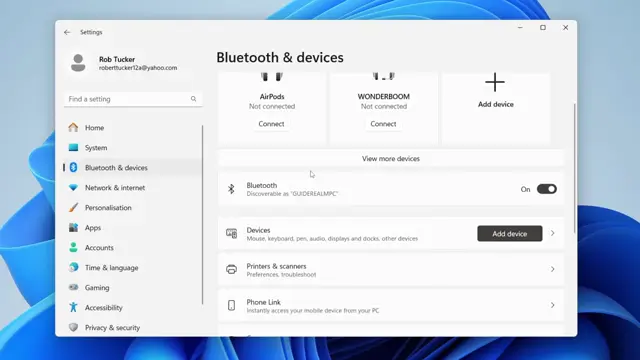
Step 4: Search for Printers
After clicking ‘Add device’, your PC will automatically search for available printers. If your printer appears, click on it and then select ‘Add device’. If not, ensure it’s properly connected and powered on before trying again.
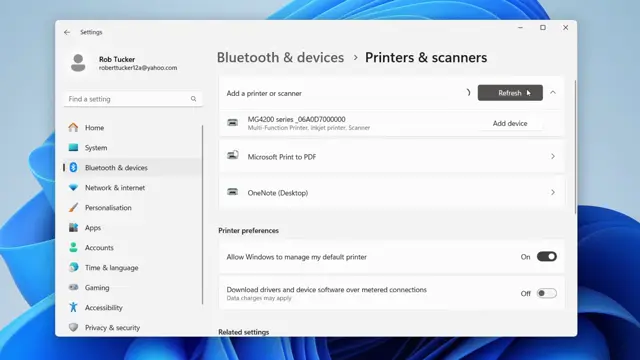
Step 5: Select your Printer
If your printer is found in the list, click on ‘Add device’ next to it to start the installation process. If not, you may need to troubleshoot the connection or add it manually.
Step 6: Install Printer Drivers
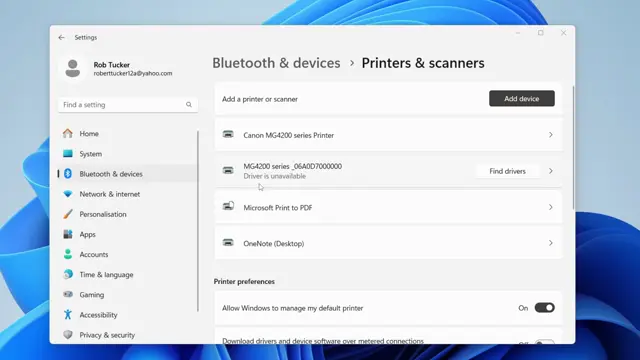
If your printer does not work immediately, you may need to download and install the necessary drivers. Search online using your printer’s model number to find appropriate drivers if not automatically installed.
Step 7: Print a Document
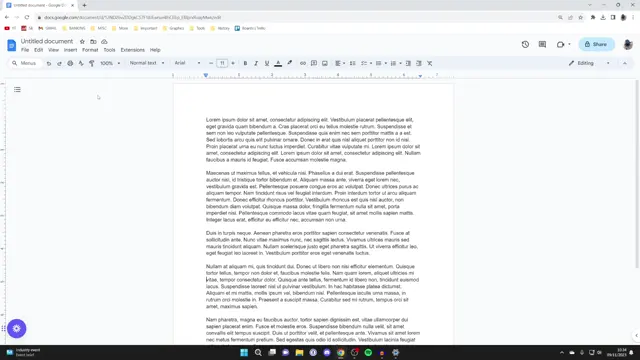
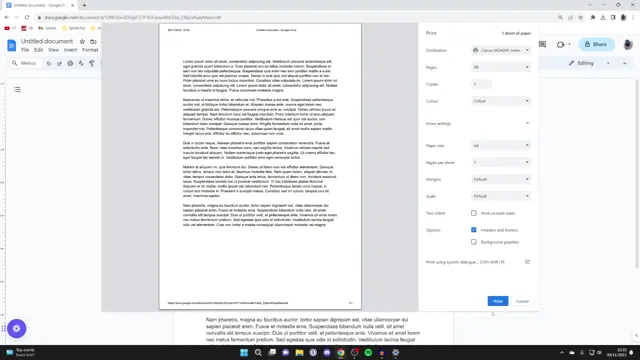
To print a document, open it first. Then, navigate to the top left of your application, click on ‘File’, and select ‘Print’ or simply press ‘Control + P’. This opens the print dialog window.
Step 8: Select Printer and Settings
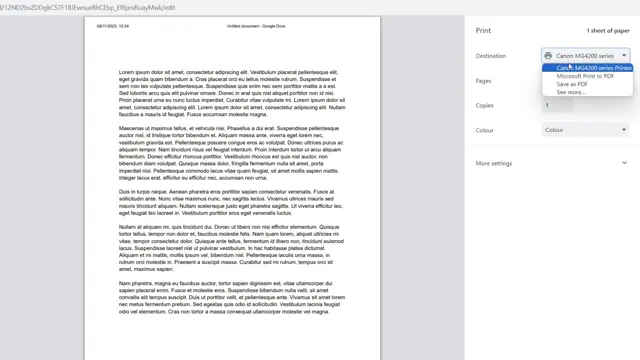
In the print dialog, check if your printer is selected under ‘Destination’. If not, you may need to click on ‘See more’ to find it. You can also change print settings such as color options and page numbers here.
Step 9: Complete the Printing Process
Once you’ve selected your printer and adjusted the settings to your liking, click the ‘Print’ button at the bottom of the dialog box. Your document will then be sent to the printer.
Frequently Asked Questions
How do I connect my printer to my laptop?
To connect your printer, ensure it is plugged into your laptop via USB or connected to the same Wi-Fi network. Then, add it under Windows settings.
What if my printer driver is unavailable?
If the driver is unavailable, search for your printer model online to download and install the necessary drivers from the manufacturer’s website.
Can I print without my printer being connected?
No, your printer must be either connected via USB or on the same network to print documents.
How do I change print settings before printing?
When in the print dialog, you can adjust settings like the number of copies, color options, and page range before clicking print.
Watch the Video Tutorial
Conclusion
By following these steps, you should be able to easily print from your laptop or PC to your printer. Feel free to revisit this guide or check other resources if you face issues.




Leave a comment