
Key Takeaways:
- Learn how to check if TPM 2.0 is enabled.
- Step-by-step guide on enabling TPM 2.0.
- How to verify Windows 11 compatibility.
Enabling TPM 2.0 is crucial for upgrading to Windows 11. In this guide, we’ll walk through each step needed to ensure your system meets the TPM requirements. Follow along to successfully enable TPM 2.0 on your Windows 10 computer.
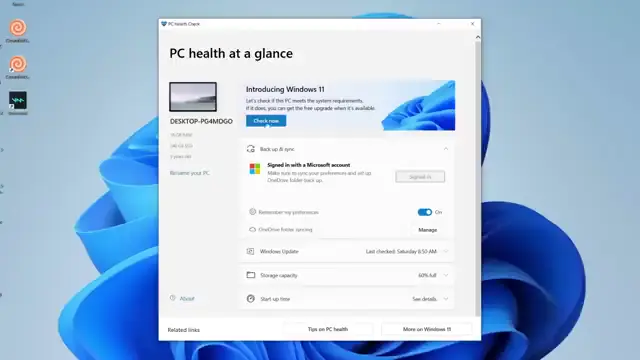
Step 1: Open Start Menu and Search for PC Health Check
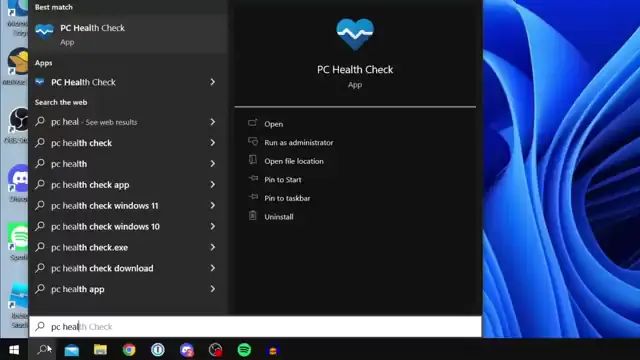
To start, click the Start menu at the bottom left. In the search bar, type ‘PC Health Check’ and press Enter to begin the process of checking your system compatibility for Windows 11.

Step 2: Install PC Health Check App
Click on the PC Health Check app in the search results. If it’s not installed, follow the on-screen instructions to install the app. It’s a quick process and should only take a minute or two.
Step 3: Check Windows 11 Eligibility
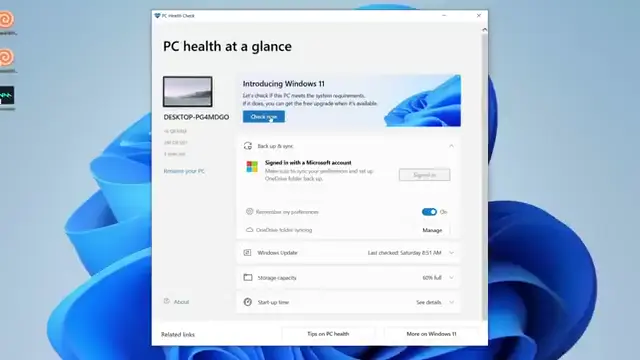
After launching the PC Health Check app, click ‘Check Now’ to see if your PC meets the requirements for Windows 11, including TPM 2.0 support.
Step 4: Access Windows Settings
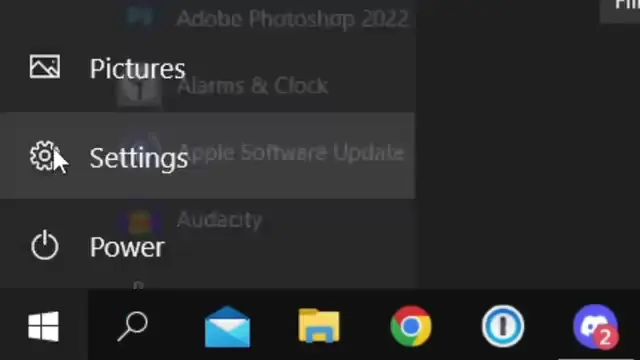
Close the PC Health Check, click on the Start menu again, and select the gear icon to access your computer’s settings, then choose ‘Update and Security.’
Step 5: Open Recovery Options
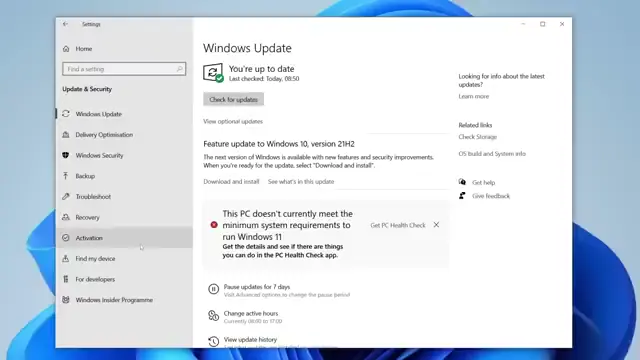
In the Update and Security settings, select ‘Windows Security’ on the left menu, then click ‘Recovery’ to access the advanced startup options.
Step 6: Restart into Advanced Startup Options
In the Recovery settings, click on ‘Restart Now’ under Advanced startup options. This will take you to the troubleshooting screen.
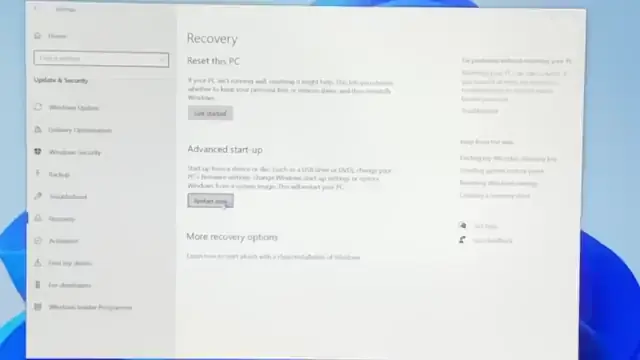
Step 7: Navigate to UEFI Firmware Settings
In the troubleshooting screen, click on ‘Troubleshoot,’ then ‘Advanced options,’ and select ‘UEFI Firmware Settings.’ Click ‘Restart’ to access the firmware settings.
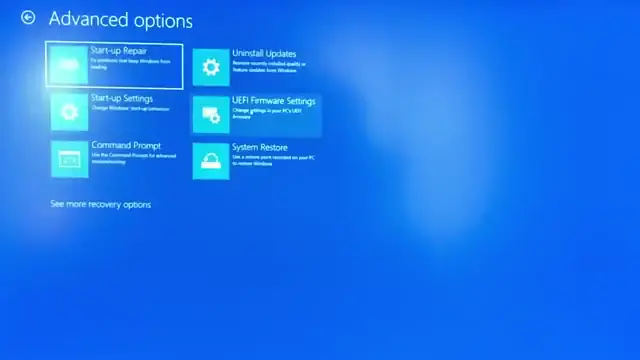
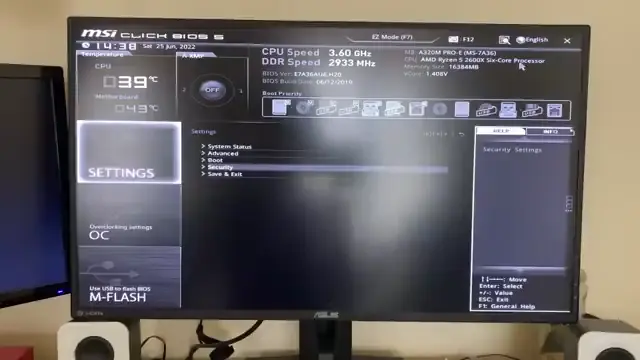
Step 8: Locate and Select Security Settings
In the UEFI firmware screen, use the arrow keys to navigate to settings. Press the End key to select it, then navigate down to ‘Security’ and press Enter.
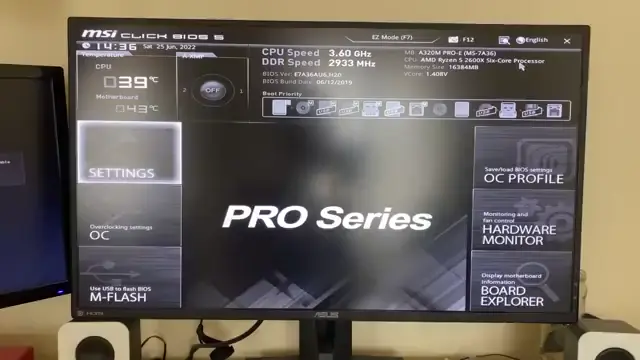
Step 9: Enable TPM in Firmware Settings
Once in the UEFI settings, use the arrow keys to navigate to ‘Security.’ Select ‘Trusted Computing’ and then enable the TPM functionality by pressing Enter, followed by ‘Enable.’
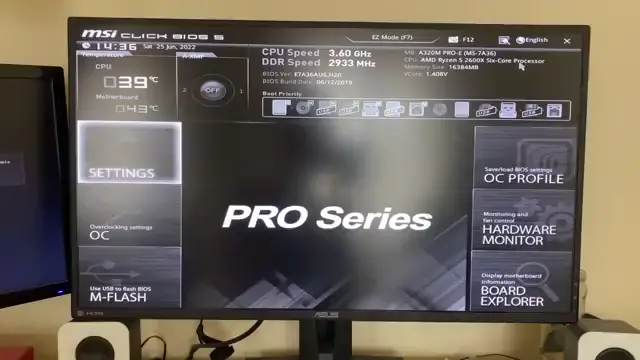
Step 10: Save Changes and Reboot
After enabling TPM, press the Escape key to exit, then navigate to ‘Save and Exit.’ Confirm your changes, and your computer will reboot.
Step 11: Verify TPM Activation and Windows 11 Compatibility
Once your PC has rebooted, open the PC Health Check app again and click ‘Check Now’ to verify that your system is now compatible with Windows 11 after enabling TPM 2.0.
Frequently Asked Questions
What is TPM 2.0?
TPM 2.0 is a security feature in computers that provides hardware-based security functions, crucial for Windows 11.
How do I check if TPM 2.0 is enabled?
You can check if TPM 2.0 is enabled by using the PC Health Check app or accessing your UEFI firmware settings.
Is enabling TPM 2.0 necessary for Windows 11?
Yes, enabling TPM 2.0 is a requirement to upgrade to Windows 11 for enhanced security features.
Can I enable TPM on any computer?
Not all computers support TPM; check your device specifications to see if it has a TPM chip.
Watch the Video Tutorial
Conclusion
Enabling TPM 2.0 on your Windows 10 computer is essential for future Windows 11 upgrades. By following this guide, you ensure that your PC is secure and compliant with the latest system requirements.





Leave a comment