
Key Takeaways:
- Learn how to download GarageBand on iPhone.
- Follow steps to create a custom ringtone.
- Set your created song as the ringtone.
Creating a custom ringtone on your iPhone using GarageBand is easy and free! This guide will walk you through the steps to make a personalized ringtone, whether from a song in your library or a new sound file. By the end, you’ll have a unique ringtone to make your iPhone stand out!
Step 1: Download GarageBand on Your iPhone
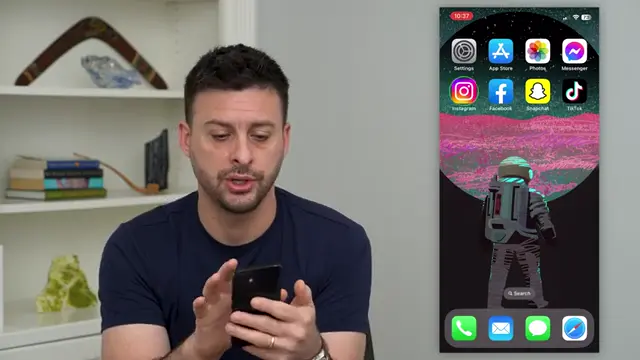
First, ensure you have GarageBand installed. If you don’t have it yet, open the App Store, search for ‘GarageBand’, and download it free of charge. Once installed, locate the app on your home screen.
Step 2: Download Your Desired Song
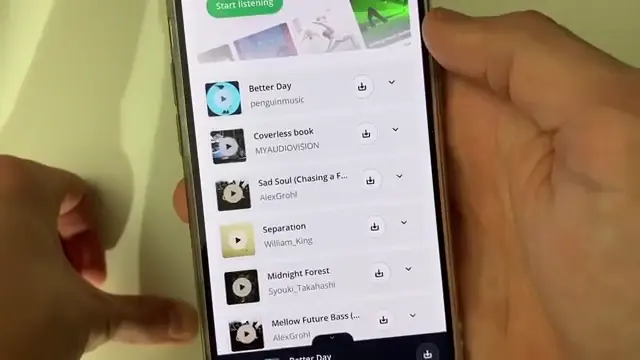
You can use songs from your music app or download an audio file as a ringtone. To download a song, visit a free music site like Pixabay, find the song you want, click the download button on the right here, and press download to save it to your device.
Step 3: Create a New Project in GarageBand
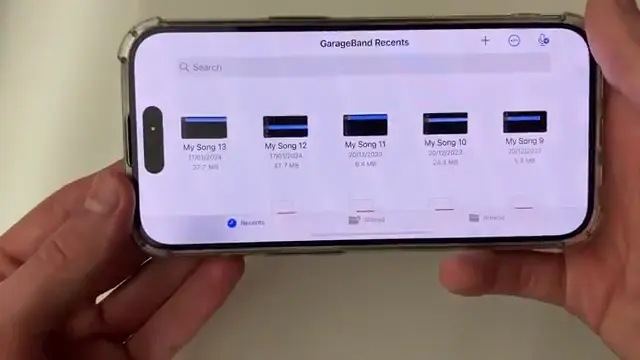
Open GarageBand, and tap the plus button in the top right corner to start a new project. Select ‘Audio Recorder’ to begin laying down your new ringtone track.
Step 4: Add Your Music File to the Project
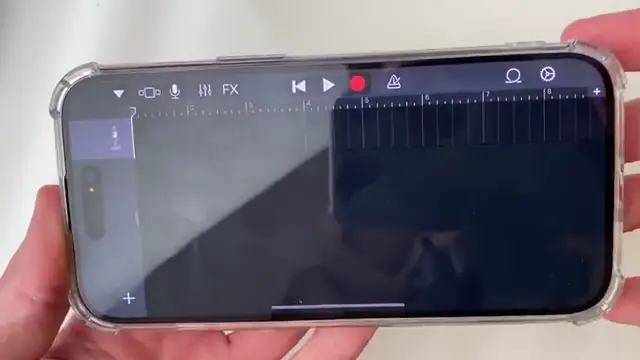
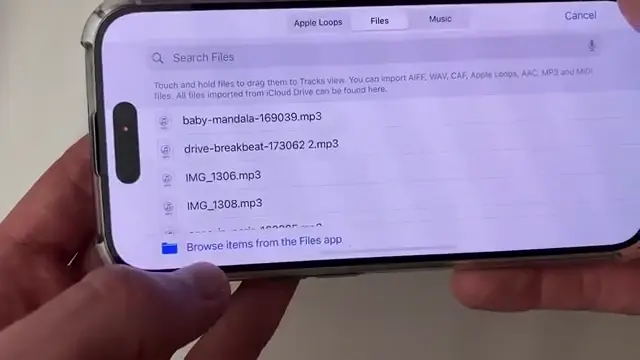
To add the song you downloaded, tap on the loop button at the top right. Then choose ‘Files’ to browse and select your downloaded music file from the Files app for your project.
Step 5: Select Your Downloaded Song
Navigate to the folder where your downloaded song is saved. Click on browse items from the files app and select the audio file you wish to use.
Step 6: Add the Selected Song to the Project
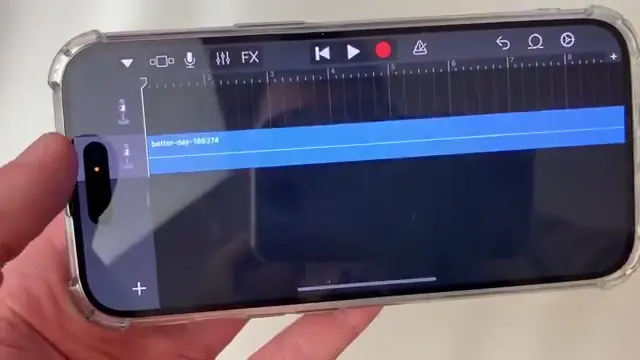
After selecting your song, hold your finger on it and then it’ll go and add it just like so to the GarageBand project.
Step 7: Edit the Song Length
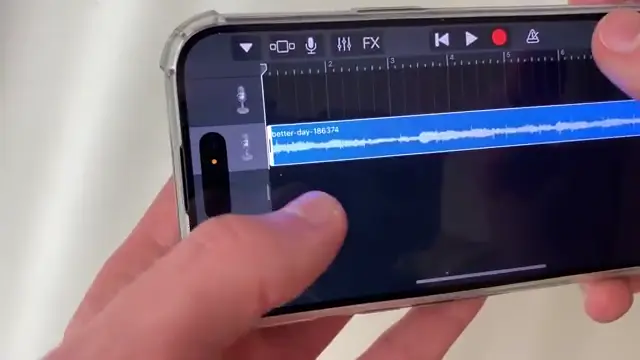
Click on it so it’s highlighted; you’ll see a border around the beginning and the end of the clip. Adjust the start and end points by placing your finger on it and dragging it like so until you’re satisfied with the section you want to use.
Step 8: Finalize Your Ringtone Length
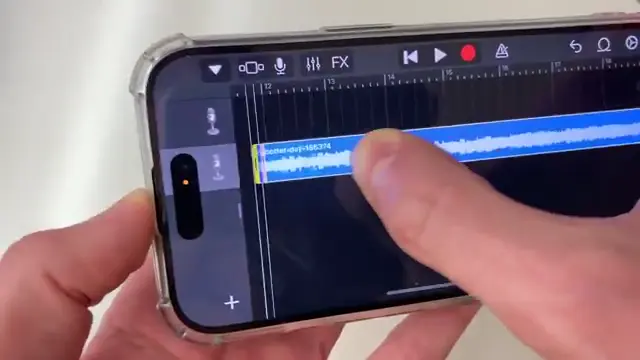
Once you’ve chosen the starting point, click on it and drag it right to the start as well to adjust the beginning. Make sure that the song is within the 30-second limit for ringtones.
Step 9: Export as Ringtone
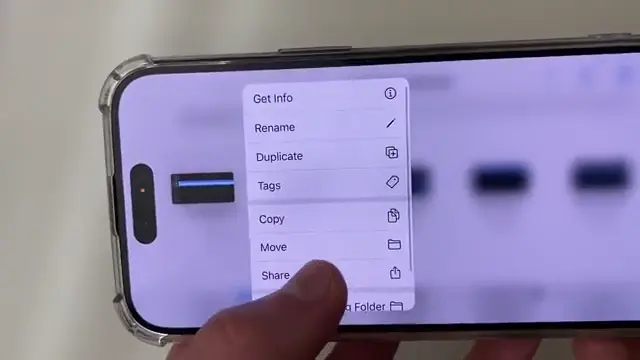
To set your song as a ringtone, go to the top left and click on this downwards arrow and click on ‘My Songs’. Hold your finger on it and you’ll see this list of options; go and click on share and it’ll say share song. Then click on ringtone and you’ll need to adjust your ringtone link.
Step 10: Complete the Export Process
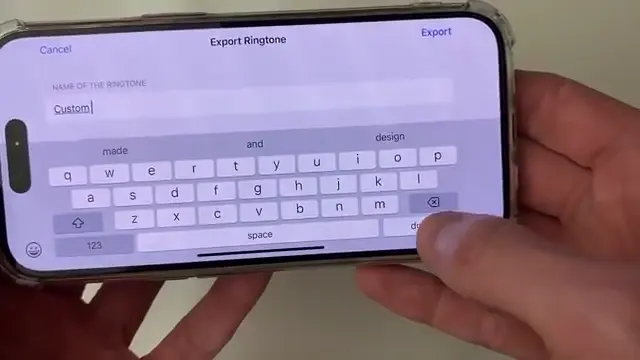
After naming your ringtone, press done, and then press export to finalize the creation of your ringtone. It will now export your song as a ringtone to your device.
Step 11: Set Your New Ringtone
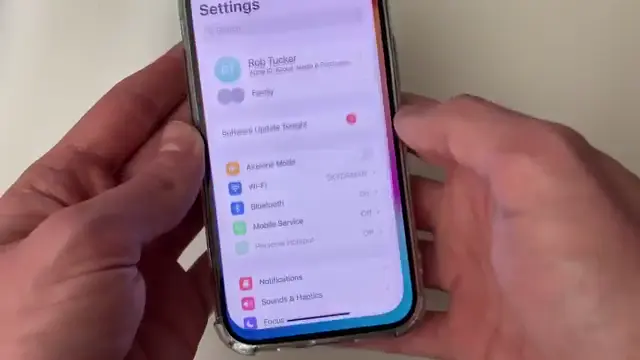
To use your custom ringtone, go to ‘Settings’ on your iPhone, select ‘Sounds & Haptics’, then ‘Ringtone’. Here, you can choose your newly created ringtone to set as your default.
Frequently Asked Questions
Can I use Apple Music songs for ringtones?
No, Apple Music songs cannot be used as ringtones since they are protected. You must use songs from your library that are stored locally.
Is GarageBand free to use on iPhone?
Yes, GarageBand is a free app available for download from the App Store on your iPhone.
What file formats can I use for ringtones?
You can use various audio file formats, but make sure they are supported by GarageBand, like MP3 or WAV.
How long can my ringtone be?
Ringtones on iPhone can be up to 30 seconds long. Ensure your song is trimmed within this limit.
Watch the Video Tutorial
Conclusion
By following these steps, you can easily create and set a custom ringtone on your iPhone using GarageBand. Now you can enjoy personalized sounds unique to your style!



Leave a comment