
Key Takeaways:
- Connect your iPhone to your PC effortlessly.
- Use the Photos app to import images seamlessly.
- Organize imported photos in your Pictures folder.
Transferring photos from your iPhone to a PC or laptop can be a straightforward process with the right steps. This full guide takes you through each step to ensure your precious memories are safely imported onto your computer without any hassle or additional software. Let’s get started! For more information on using your devices, check out this guide on how to print from laptop and PC to printer.
Step 1: Connect Your iPhone to the Computer
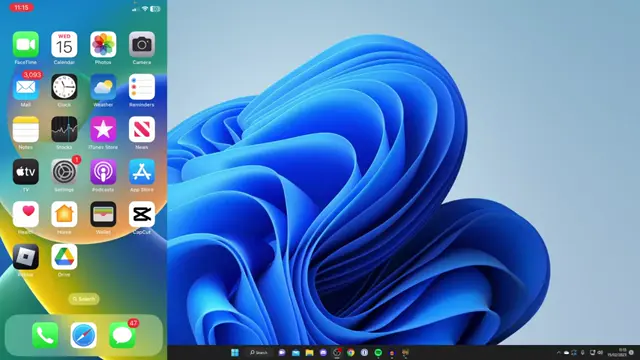
To begin transferring photos, first connect your iPhone to your PC using the USB cable. Ensure one end is plugged into your iPhone and the other into your computer.
Step 2: Unplug iPhone from Power Adapter
If necessary, unplug your iPhone from the power adapter to connect it to your computer for the transfer.
Step 3: Trust the Computer
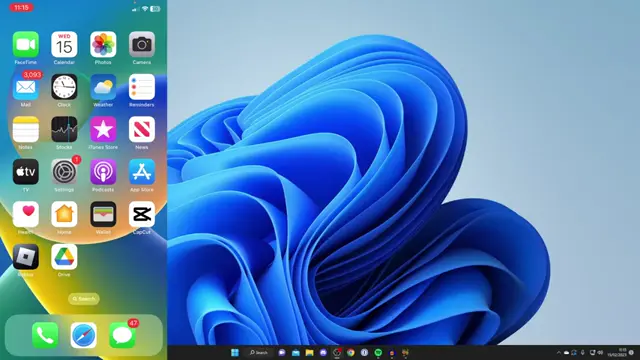
After connecting, a pop-up will appear on your iPhone asking to trust the computer. You must tap ‘Trust’ to enable data transfer between the devices.

Step 4: Enter iPhone Passcode
After tapping ‘Trust’, enter your iPhone passcode when prompted to allow the connection to proceed.

Step 5: Open the Photos App on PC
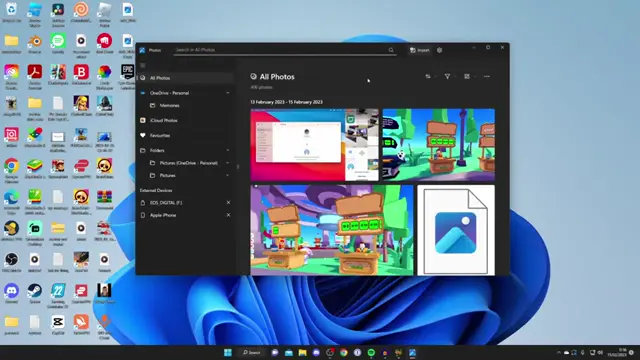
On your computer, tap on the ‘Search’ function and type in ‘Photos’ to open the default Photos app. This tool allows you to import images from your iPhone.

Step 6: Import Photos from iPhone
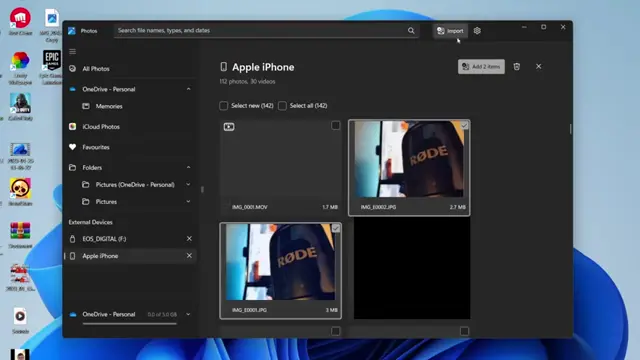
In the Photos app, click ‘Import’ at the top right corner, then select ‘From a connected device’. Your iPhone will load all available photos for transfer.
Step 7: Select Photos to Transfer
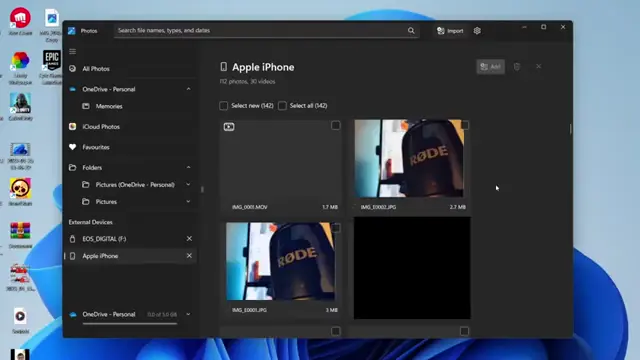
Once the photos are loaded, scroll through and select the ones you wish to transfer. Click on them to mark for import, then press ‘Add’.
Step 8: Add Photos for Transfer
After selecting your photos, press ‘Add’ to proceed with the import process.
Step 9: Choose Destination Folder for Imported Photos
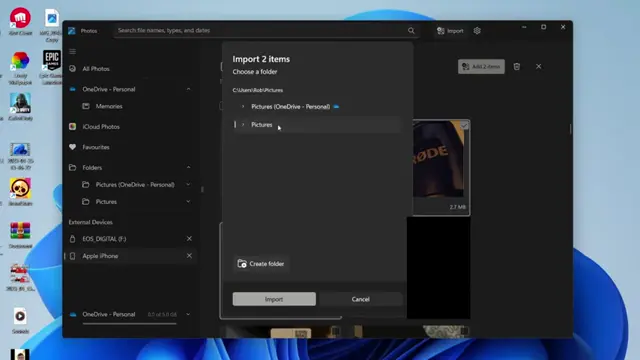
Select a destination folder where you want to save the imported photos, such as your ‘Pictures’ folder or a new folder you create.
Step 10: Complete the Import Process
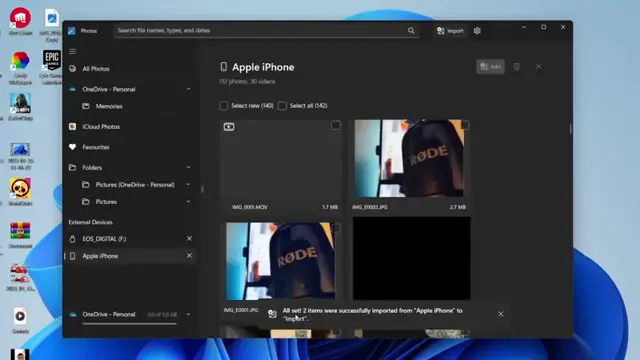
After selecting the photos, click ‘Import’ to start transferring the selected images. You’ll see the status of the import on your screen.
Frequently Asked Questions
Do I need special software to transfer photos from iPhone to PC?
No, this process uses the default Photos app on Windows, requiring no extra software.
What should I do if the ‘Trust’ prompt does not appear?
Ensure your iPhone is unlocked, and try reconnecting it. If the problem persists, check for cable issues.
How can I find the imported photos on my computer?
Imported photos are typically saved in the ‘Pictures’ folder or the folder you created during import.
Can I select multiple photos at once for transfer?
Yes, you can select multiple photos by clicking on them before pressing the ‘Add’ button.
Watch the Video Tutorial
Conclusion
Transferring photos from your iPhone to a PC is simple and quick with the right steps. Following this guide ensures your photos are safely imported and easy to access.






Leave a comment