
· By KAI
Key Takeaways:
- Step-by-step guide to going live on Instagram.
- Learn how to engage with viewers using features.
- Tips on saving and sharing your live video.
Going live on Instagram can help you connect with your audience in real-time, offering a dynamic way to engage. If you’re unsure how to start, follow this streamlined guide. We’ll walk you through the simple steps to get you broadcasting in no time!
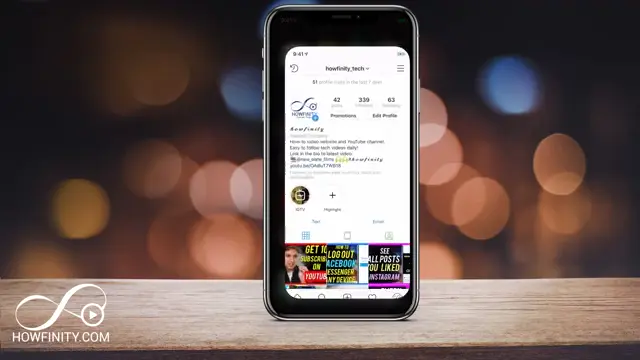
Step 1: Launch the Instagram App
Open the Instagram app on your device, whether it’s iOS or Android. Ensure you are logged into your account to access your home feed.
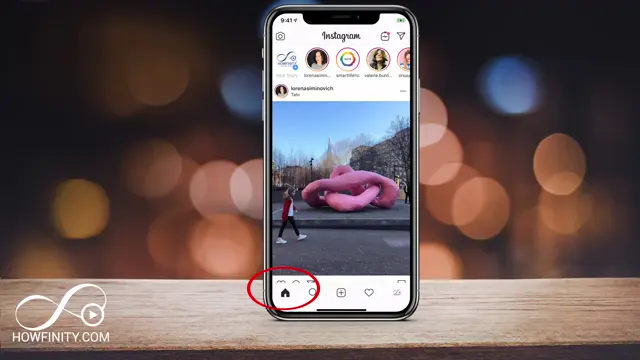
Step 2: Navigate to the Camera Icon
From the home page of your Instagram app, look for the camera icon in the top left corner. Click on this icon to proceed to live mode.
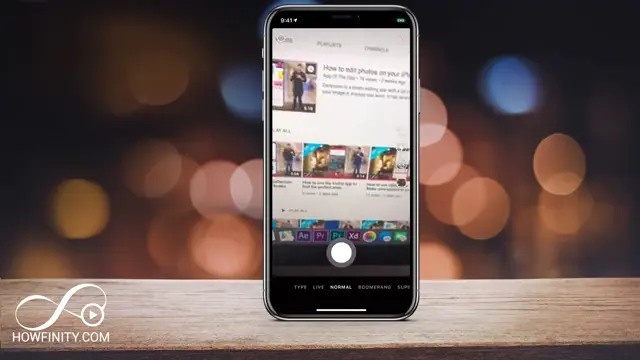
Step 3: Switch to Live Mode
At the bottom of the screen, you will see options like ‘Normal’ and ‘Live’. Scroll to select ‘Live’ to enter live streaming mode. This is where the live action begins!
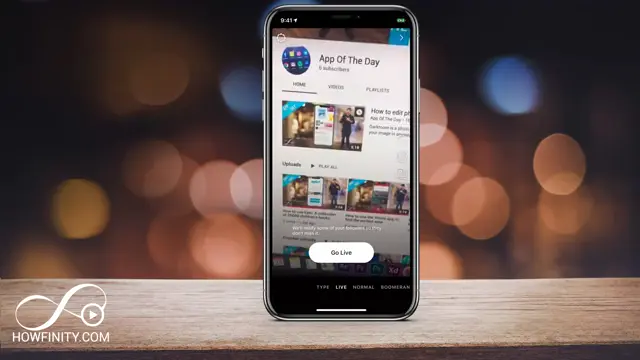
Step 4: Start Your Live Stream
Once you have switched to live mode, look for the ‘Go Live’ button on the right side of your screen and press it. Your stream will start once you are connected.
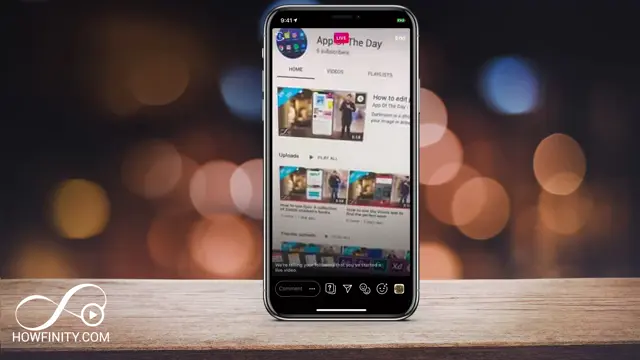
Step 5: Use the Question Sticker
While live, you can engage your audience by pressing the question icon to add a question sticker to your story, allowing viewers to interact with you.
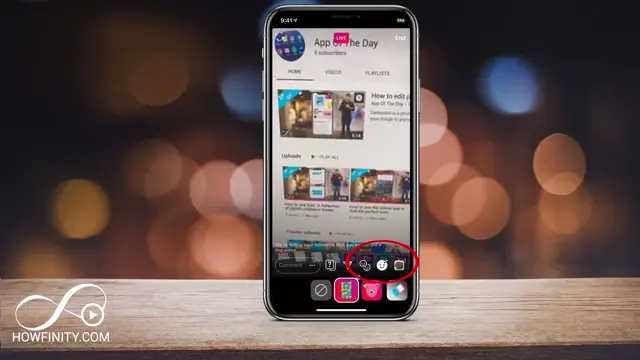
Step 6: Add Filters to Your Live Stream
To enhance your live video, press the icon that allows you to choose filters. You can select fun effects to display while you’re streaming.
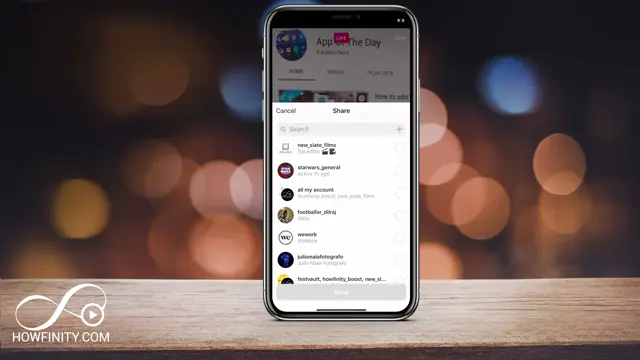
Step 7: Share Your Live Stream
After you finish your live session, you can choose to share the video by pressing the share button and selecting other pages you’d like to notify about your stream.
Step 8: Cancel the Live Options
If you decide not to proceed with an action while live, just press cancel to exit that option without making changes.
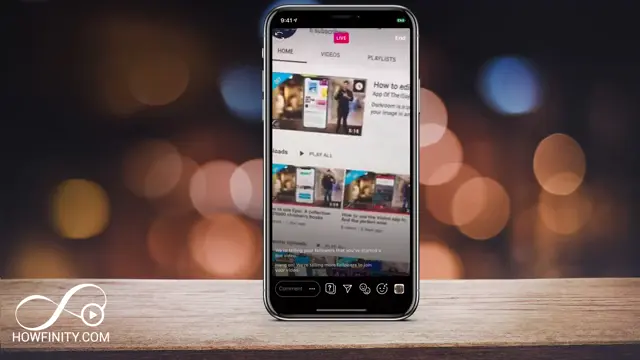
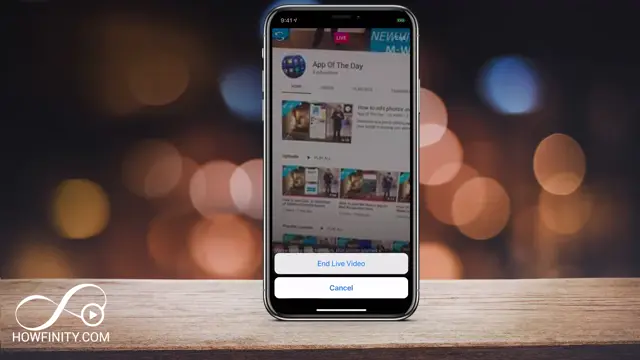
Step 9: End Your Live Stream
Once you’ve finished your live session, tap on ‘End’ at the top right of the screen. This will stop your live broadcast, allowing you to share or save it afterwards.
Step 10: Save Your Live Video
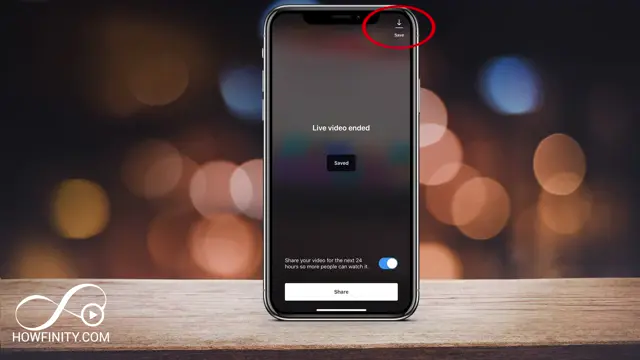
After ending your live session, you can choose to save the video to your camera roll or share it on Instagram stories for up to 24 hours.
Step 11: Share Your Live Video to Stories
When you’re ready to share, press the share button and it will post the live video directly to your Instagram account, making it accessible to your followers.
How can I go live on Instagram for the first time?
To go live for the first time, simply open the Instagram app, tap the camera icon, and select ‘Live’ to start your live session.
Going live for the first time can be exciting! After tapping the camera icon, make sure to select ‘Live’ at the bottom of your screen. Instagram will give you a brief countdown before you go live. This is a great opportunity to gather your thoughts and prepare yourself for your audience. It might help to have a basic script or key points you want to discuss to keep the flow smooth. Also, consider going live at a time when you believe your audience will be most available to tune in, as this can lead to better engagement during your session.
Can I invite someone to join my live stream on Instagram?
Yes, you can invite guests to join your live stream by tapping the icon in the comment section during your broadcast.
Inviting someone to join your live stream can increase engagement and create dynamic conversations. While you’re live, viewers can request to join by tapping the ‘Request’ button, and you will see the request appear on your screen. To add them, tap the green checkmark next to their name. Once they join, their video will appear alongside yours, allowing for a split-screen format where both of you can interact with your audience. This feature is beneficial for Q&A sessions, interviews, or collaborative discussions. Remember to communicate with your guest beforehand to align on the content and ensure a seamless experience.
What features can I use while live on Instagram?
During a live stream, you can use features such as filters, comments, and question stickers to enhance audience engagement.
Instagram provides a variety of features to make your live broadcasts interactive and fun. Here are some key features to consider:
- Comments: Viewers can comment live, allowing for immediate interaction.
- Question Stickers: You can add a question sticker for viewers to submit questions in real-time.
- Filters: You can apply various filters to your stream to make it visually engaging.
- Live Donations: If eligible, you can receive donations during your live session.
These tools can help create a more engaging environment for your audience and make your content more enjoyable overall.
How can I add filters to my Instagram live video?
To add filters to your live video, tap the filter icon before starting your stream to browse and apply different effects.
Adding filters to your Instagram Live can make your broadcast more visually appealing and fun for viewers. Once you are in live mode, look for a filter icon usually located on the left side of the screen before you go live. Tap this icon and browse through a selection of effects and filters designed for live video. You can try out different options in real time to see how they look before starting your broadcast. Filters can include everything from simple color enhancements to more complex animated effects. This feature is especially useful for maintaining viewer interest and enhancing your brand’s aesthetic.
How can I save my live video on Instagram?
To save your live video, tap the ‘End’ button, then select ‘Save’ when prompted to retain your video on your device or share it on Stories.
After concluding your live session, Instagram provides an option to save your video. When you tap ‘End,’ a pop-up will appear asking if you want to save your video. This is an important step, as once you dismiss this, the footage will disappear after the session ends. If you choose to save, it will be stored in your camera roll for future use. Additionally, you have the option to share the live video to your Stories for 24 hours, extending its reach and visibility. It is a good practice to save your live videos for repurposing content, creating highlights, or engaging those who missed the original broadcast.
How can I share my live stream on Instagram?
You can share your live stream by tapping the share button after ending your live session to notify your followers.
Sharing your live stream on Instagram is straightforward. Once you have ended your live session, a prompt will give you the option to share the video instantly. By tapping on the share button, you can choose to post the video directly to your Stories, making it available for 24 hours for all your followers to view. This is an excellent way to reach audience members who could not tune in live. You can also share the video to your feed or save it for later sharing. If you have a significant following or are using the video to promote an event, consider informing your followers in advance, so they know when to look for the repost.
How can I engage with viewers during Instagram live?
You can engage viewers during your live stream by responding to comments, using polls, and incorporating question stickers.
Engagement is key when going live on Instagram, as it helps build a connection with your audience. Here are several effective strategies to engage viewers:
- Respond to Comments: Regularly read and reply to comments that appear in real-time. Acknowledging viewers by name can increase involvement.
- Use Polls: Incorporate polls in your live session to solicit audience opinions on specific topics, making them feel involved.
- Incorporate Guest Appearances: Invite followers or collaborators during your live session to have discussions, deepening viewer interest.
- Ask Questions: Prompt viewers to answer questions related to your topic or ask for stories to foster interaction.
These strategies not only keep the conversation flowing but also encourage viewers to stay tuned and participate, which can enhance the overall experience for everyone involved.
Frequently Asked Questions
How can I go live on Instagram for the first time?
To go live, open the Instagram app and click on the camera icon, then select ‘Live’ at the bottom of the screen.
Can I invite someone to join my live stream on Instagram?
Yes, while live, you can invite others to join your broadcast by using the ‘Invite’ feature.
What features can I use while live on Instagram?
You can use question stickers, filters, and share your live video with your audience during the stream.
How can I save my live video on Instagram?
After ending your live session, you can choose to save the video to your camera roll or share it on your stories for 24 hours.
Watch the Video Tutorial
Conclusion
Now that you know how to go live on Instagram, start engaging with your followers in real-time. Enjoy streaming and don’t forget to experiment with the various features available to enhance your broadcast!



Leave a comment