
Key Takeaways:
- Understand how lens protectors are installed.
- Learn the safe method to remove lens protectors.
- Discover tools and techniques to prevent damage.
Removing the camera lens protector from your iPhone 14 requires a careful approach to avoid damaging the device. This guide will take you through the steps necessary to safely uninstall the lens protector rings. By applying gentle heat and using basic tools, you can remove these protectors without any hassle. Whether you’re replacing them or just want to remove them, following these steps will make the process straightforward and safe.
Step 1: Understand the Adhesive Mechanism
Before starting, it’s important to know that the camera lens protectors are held in place by adhesive stickers. Understanding this helps you prepare for the removal process effectively.
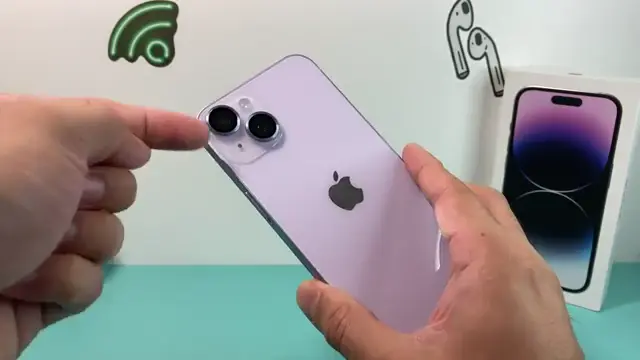
Step 2: Prepare Tools and Set Low Heat
Get a hair dryer or a heat gun ready. Turn it on to a low setting to apply gentle heat to the lens protector, which helps loosen the adhesive without damaging the phone.
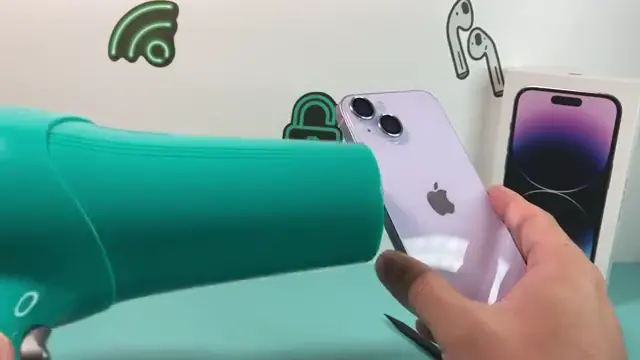
Step 3: Apply Heat and Begin to Lift
Gently apply heat to the lens protector and wait a few seconds. Start gently prying the edges with your fingers or a tool to lift the protector away from the lens. Be patient and apply heat multiple times if necessary.
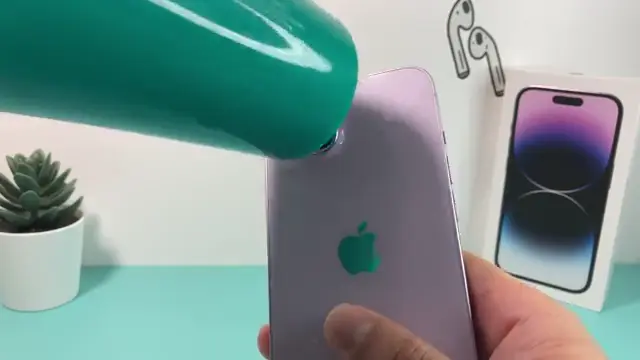
Step 4: Use Tools for Safe Removal
Once the adhesive has loosened, use a tool like a tweezer or a pick to carefully lift the protector, working slowly to avoid scratching the lens.
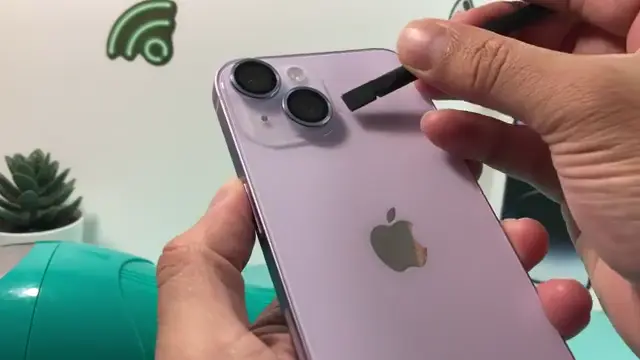
Frequently Asked Questions
Will using heat damage my iPhone?
If you use low heat from a hair dryer, it should not damage your iPhone. Always apply heat cautiously.
Can I use tools other than a hair dryer?
Yes, a heat gun can be used, but ensure it’s on a low setting to prevent overheating.
How long does the removal process take?
The process can take a few minutes, as you may need to apply heat and work slowly to avoid scratching.
What if the adhesive is too strong?
If the adhesive is stubborn, apply heat multiple times and use patience while prying gently.
Watch the Video Tutorial
Conclusion
By following these steps, you can successfully remove the camera lens protector from your iPhone 14 without risking damage. Remember to be gentle and patient for the best results!







Leave a comment