
Target Audience: Beginners | Estimated Read Time: 3 min
Key Takeaways:
- Understand how to create folders in Gmail
- Learn about creating and managing labels
- Get tips on organizing emails efficiently
In today’s tutorial, we will guide you on how to create folders or labels in Gmail. This feature helps keep your emails organized and tidy, making it easier to find what you need.
Step 1: Open Gmail in Desktop Mode
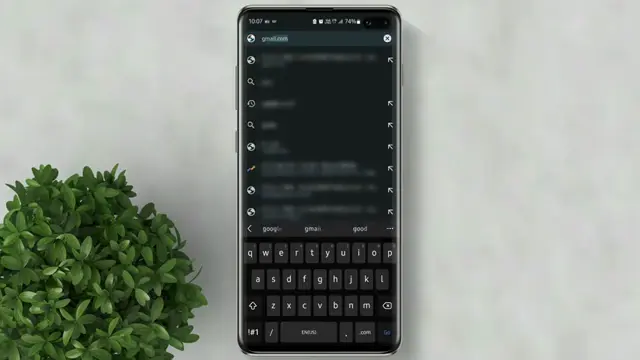
First, open your browser and navigate to gmail.com. Make sure to enable the desktop site for full functionality. This is essential as the Gmail app does not have the folder or label creation feature.
Step 2: Access Categories
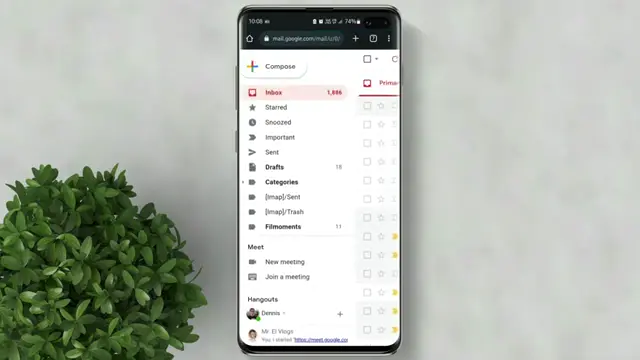
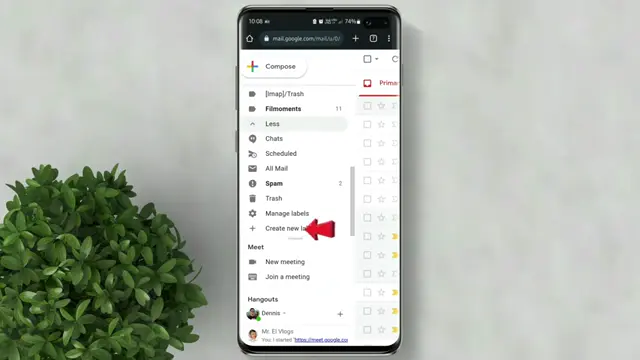
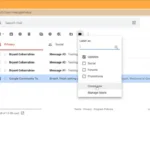
Once you’re in Gmail, look for the ‘Categories’ section. Scroll down and click on ‘More’ to access additional options for managing your emails.
Step 3: Create New Label
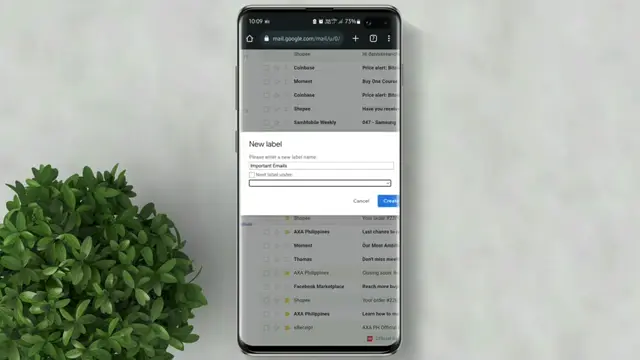
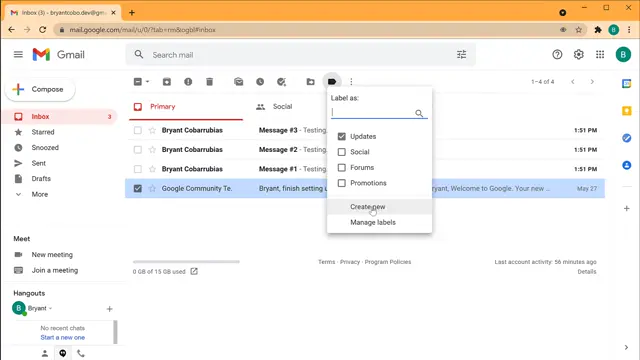
Now click on ‘Create New Label’. Here, type in your desired folder name. If you wish, you can also select a main folder to create a sub-folder under it.
Step 4: Finish the Process
Finally, click ‘Create’ to establish your new folder or label. Your Gmail is now organized with the new label you set up, allowing for better email management.
Frequently Asked Questions
How do I create a label in Gmail?
Go to Gmail in desktop mode, click ‘More’ under Categories, then select ‘Create New Label’ and name it.
Can I create sub-labels in Gmail?
Yes, while creating a new label, you can choose an existing label as a parent to create a sub-label.
What is the difference between folders and labels in Gmail?
Gmail uses ‘labels’ instead of traditional folders; labels can be applied to multiple emails for better organization.
Are there tutorials available for organizing Gmail?
Yes, check our channel for more how-to tutorials on organizing Gmail and managing emails effectively.
Watch the Video Tutorial
Conclusion
By following these simple steps, you can create folders or labels in Gmail to enhance your email organization. Don’t forget to subscribe for more tutorials!






Leave a comment