
If you’re facing the dreaded black screen of death on your iPhone, don’t panic! This tutorial will walk you through effective methods to troubleshoot and fix this issue, ensuring your device is back in action. Follow along for easy step-by-step instructions.
Step 1: Identify the Black Screen of Death
First, confirm that your iPhone is indeed experiencing the black screen of death. You should be able to hear notifications and calls, but the screen remains unresponsive. If this sounds like your situation, proceed to the next step.

Step 2: Force Restart Your iPhone
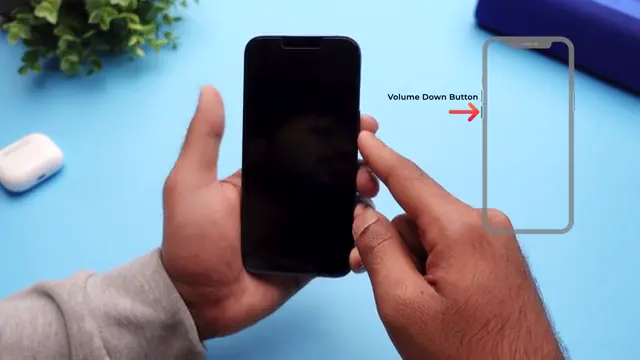
To restart your device, quickly press and release the volume up button, then the volume down button. Finally, press and hold the side power button until the Apple logo appears on the screen. This simple action can often resolve temporary glitches causing the screen to remain black.
Step 3: Install iTunes on Your Computer
If the force restart didn’t solve the issue, download and install iTunes on your computer. Make sure the software is up to date to ensure compatibility with your iPhone.

Step 4: Put Your iPhone in Recovery Mode
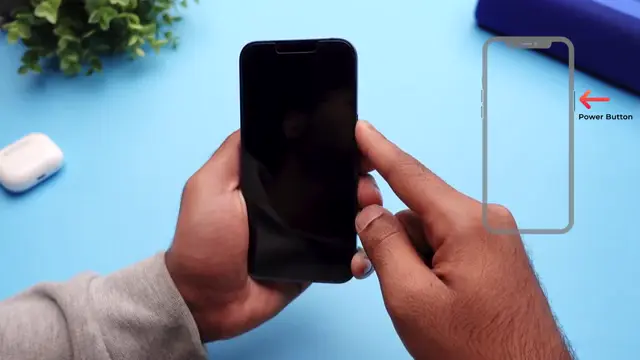
Connect your iPhone to your computer using a lightning cable. To enter recovery mode, press and release the volume up button, then the volume down button. Finally, press and hold the side power button until you see a computer symbol on your iPhone’s screen.
Step 5: Restore Your iPhone via iTunes
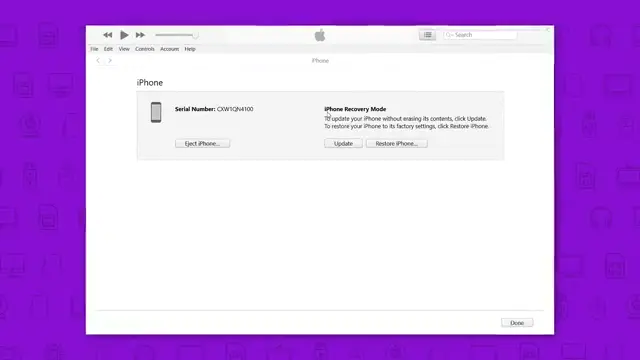
Once your iPhone is in recovery mode, iTunes will detect your device. Click the ‘Restore’ button to start the recovery process. Note that this method will erase all your data, so ensure you have backups.
Step 6: Use the ReiBoot iOS Repair Tool
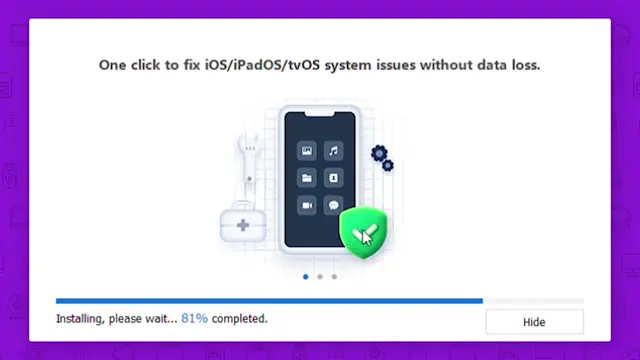
Instead of restoring with iTunes, I recommend using the ReiBoot iOS repair tool, which helps fix issues without data loss. Download and install ReiBoot on your computer, then launch it.
Step 7: Enter Recovery Mode Using ReiBoot
On the ReiBoot homepage, select ‘Enter Recovery Mode.’ This will place your iPhone into recovery mode without using the button combination from the previous steps.
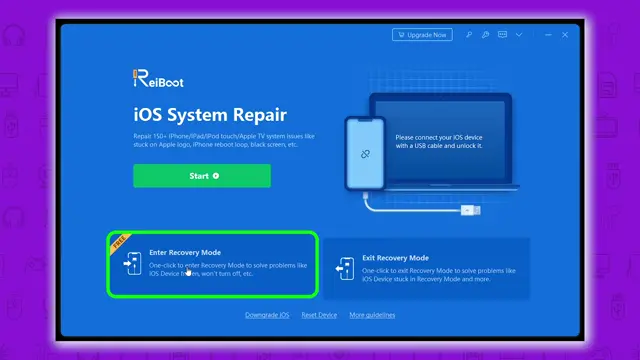
Step 8: Start Standard Repair with ReiBoot
After entering recovery mode, you can choose ‘Start Standard Repair.’ This will attempt to fix the black screen issue without erasing your data. Follow the prompts to download the necessary firmware and initiate the standard repair process.
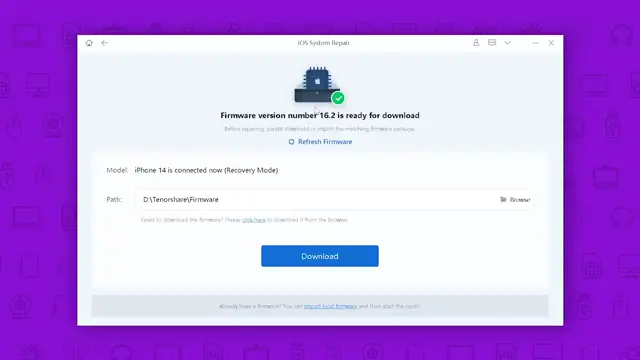
Step 9: Complete the Repair Process
Follow the on-screen instructions, and allow the process to run. It typically takes about 10 minutes to complete. After this, your iPhone should restart, resolving the black screen issue without any data loss.
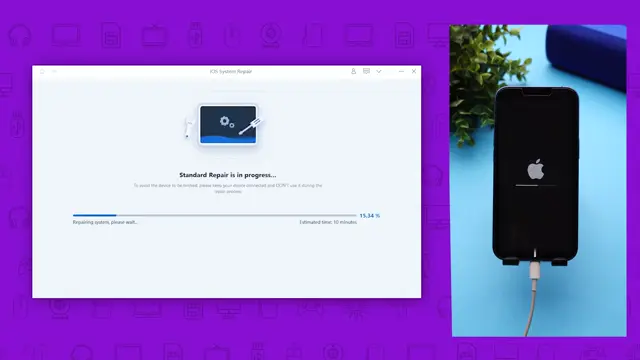
Conclusion
By following these detailed steps, you should be able to effectively resolve the iPhone black screen of death. Always ensure to keep backups of your data and stay updated with the latest software to minimize such issues. For more tips and tutorials, subscribe to our channel!




Leave a comment